If you missed it, make sure you check out the Introduction post.
There are two primary content building blocks in Wordpress: Posts & Pages. Understanding the difference between how they’re intended to be used will help you to correctly decide which is appropriate for new content that you want to add to your website, and to help you determine where current content might be stored so you can edit it.
Pages vs. Posts
Here is a simple explanation of the two:
- Pages are permanent content, the things that appear on the website's navigational menu: Home, About Us, etc., are usually pages. Pages cannot be categorized, and they are not usually intended to be listed by date, alphabetical order or author name.
- Posts are news articles, blog entries or items that are otherwise intended to be dated, categorized and listed as articles (by author name, date, title, etc.). Often, a page contains a list of posts. Usually, individual posts do not appear on the website's menu -- if you think something should be listed on the menu, generally it should be a Page, not a Post.
To use this Keokee blog as an example: on our menu, we have an About Page and three post Archive Pages containing lists of Posts in specific categories: Company News, Marketing and Wordpress Resources. We also have a Home page, which displays the contents of our most recent Posts by date (in order from newest to oldest).
You can read more about the difference between pages and posts at this Wordpress support page regarding Pages vs. Posts.
Editing Text on Pages and Posts
While the two have different purposes and usually appear in different ways on the site, editing their content is almost exactly the same.
In the previous post, we learned how to log in, and landed on the “Dashboard” screen. The dashboard is the opening screen, but there’s not usually a whole lot to see there. Most of the time, you’ll want to edit your posts or pages.
Exploring the Editing Screen
The main menu in Wordpress is located on the left side of the screen.
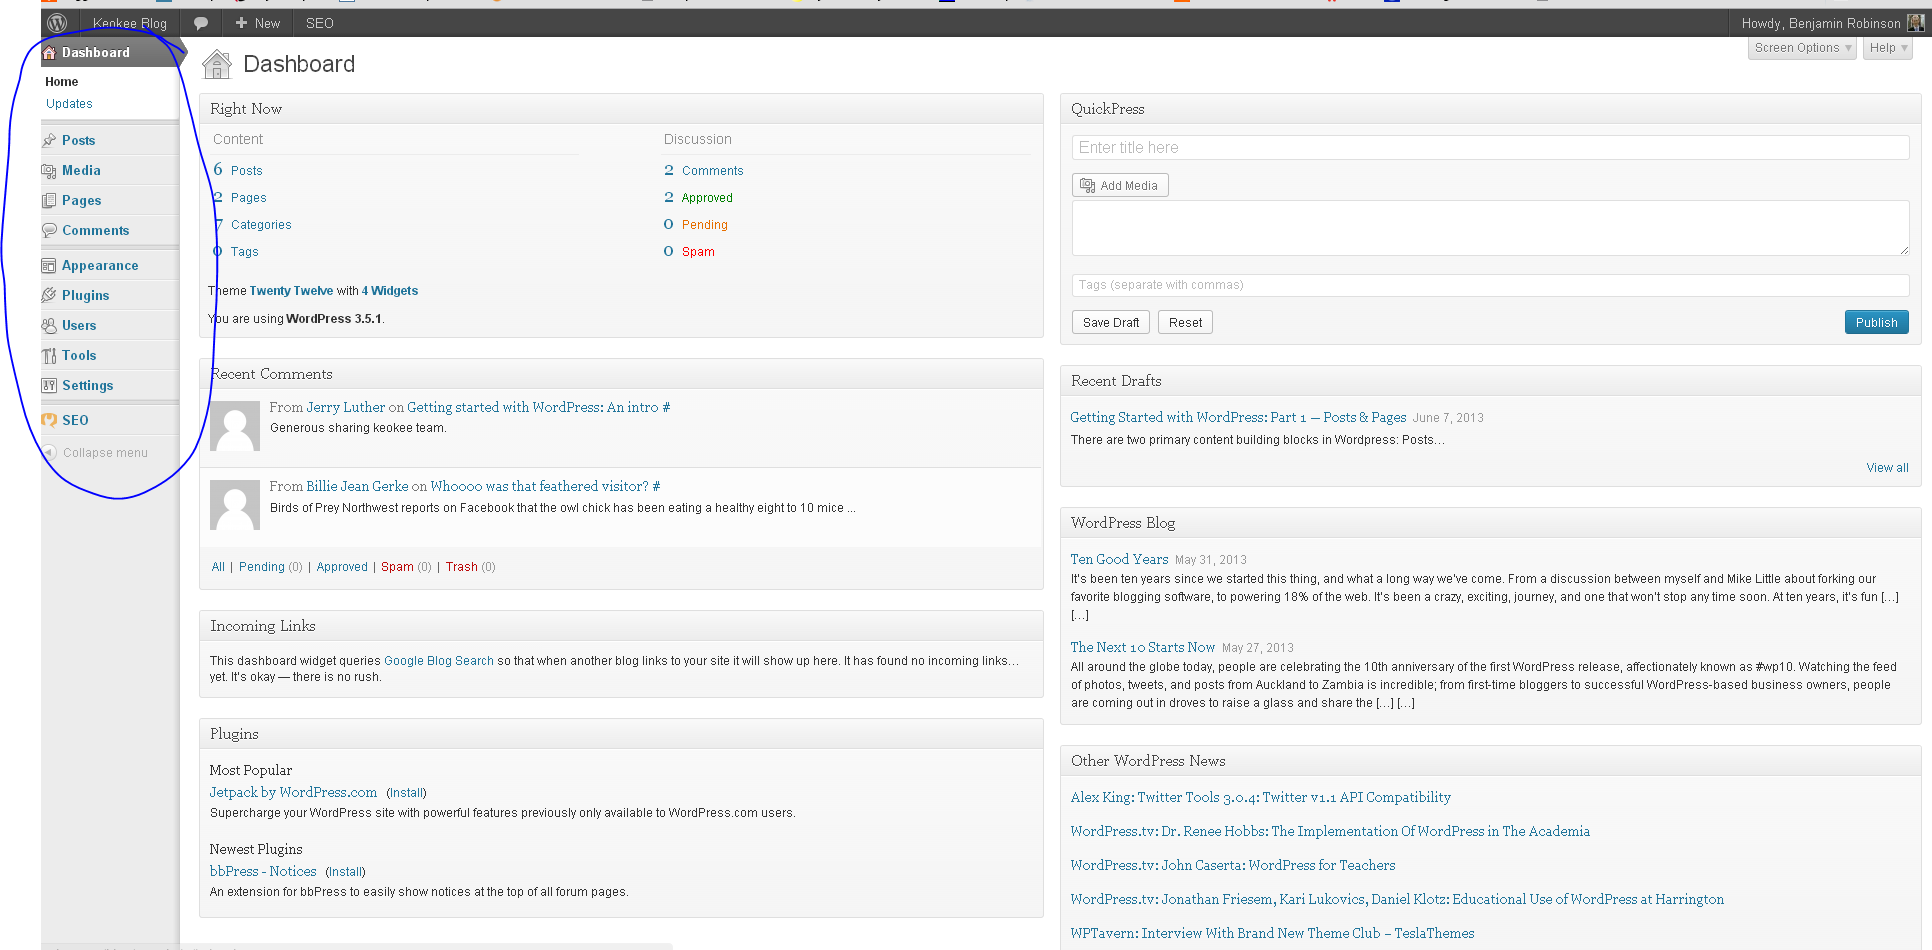
Posts and Pages are listed here, near the top. Any special types of content (custom post types) will also be listed here (examples of custom posts might be: Staff Member Profiles, Products, etc.) From the menu, we can view all of the posts/pages, add new ones and view existing categories and tags.
We’ll start by editing an existing Page. To do this, click on “Pages” or “Pages > All Pages.” (Either one works!)
If your site is brand new, you may have only a “Sample Page.” If someone set up your site for you, you may have other pages listed.
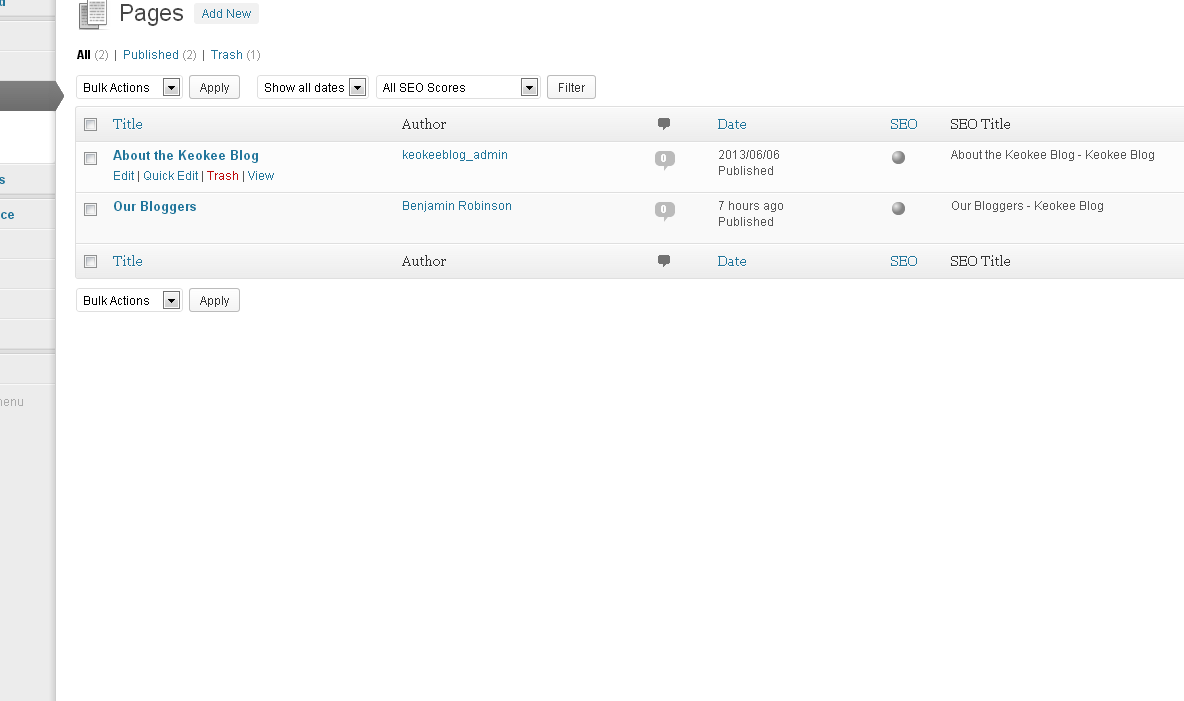
To edit any of the listed pages, click on its name, or highlight its name and select “Edit”. (Again, either one.)
This will open the page to be edited. You’ll see the title of the page in the small text box, and the main content of the page in the large text box.
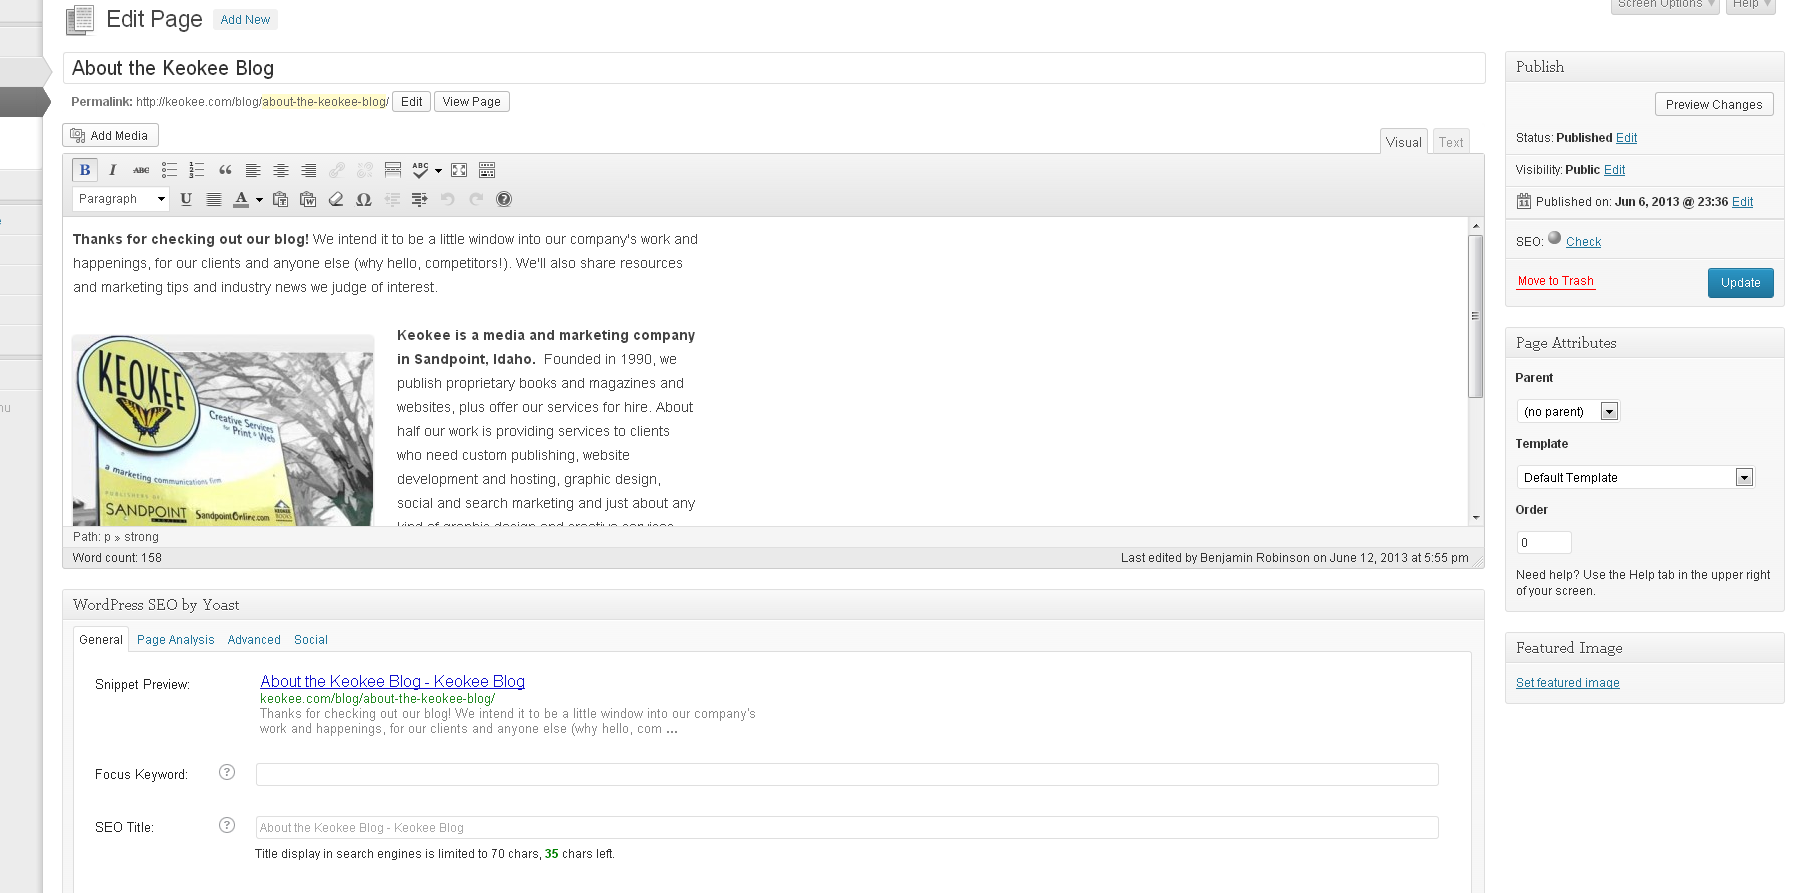
At this point, you are ready to edit the content!
Formatting Tools
You’ll notice that the main content box has two tabs, one for “Visual” editing and one for “Text” editing. The “Text” side of the editor shows plain text HTML. If you’re inserting anything in HTML, you’ll need to use the Text side of the window – for example, code for an embedded video from Youtube video will need to pasted in as plain text. (We’ll cover embedding video later.)
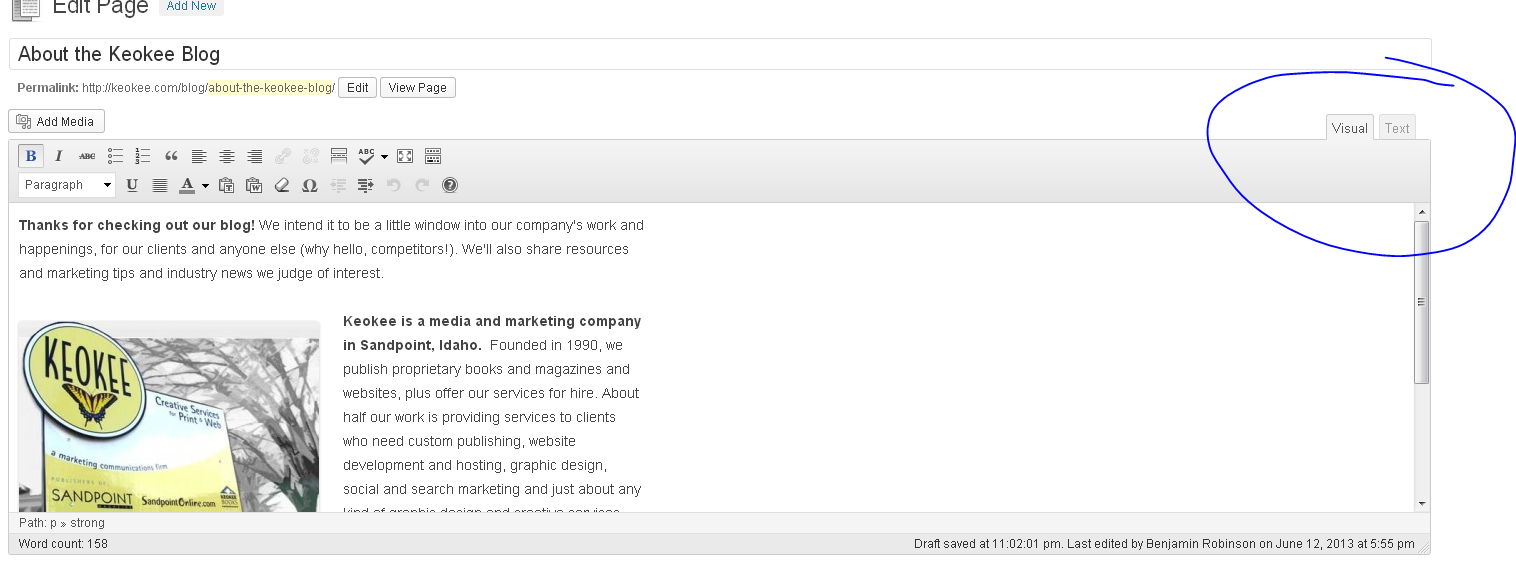
Look to the top right of the main content box for the Visual/Text tabs.
Another important note about the two modes of editing: if you’re pasting from a Word document or another program that contains formatting, it’s best to paste your text into the “Text” side of the window and then format the document (bold, italic, etc.) using the “Visual” editor. Pasting it directly into the visual side of the window may drag in styles that will be confounding and look bad in a web format.
The visual side of the window looks a lot like Microsoft Word or any word processing program. Once you have typed or pasted your text into the main content box, you can format it any way you like by using the tools above the box.
Alternately, if you’re interested in learning more about formatting text using HTML: take a look at the guide we have here: keokee.com/html. It has common tags used in HTML formatting.
One important button to note here is the “kitchen sink” button. It is on the far right of the tools, and clicking it will expand all (the whole kitchen sink) of the formatting tools. You can hold your mouse over any of the tool icons to find out what they do.

Click this button to expand the "Kitchen Sink" editing toolbar.
The most useful tool in the kitchen sink toolbar is the dropdown menu which sets specific content types: paragraph, address, preformatted and headings. Headings are especially important. Using headings to section off your content is a great way to help readers understand what sections are about, and to help search engines find your content. Heading 1 is the largest, and Heading 6 is the smallest.

Here you can select which size of heading you'd like to use.
To practice using headings, try typing in: “Example Heading” into the content box. Select it and then use the dropdown to select “Heading 1.” It should get bigger and bolder to reflect the change. It will probably also clear any text that might have been next to it. Headings are typically styled to be the only text on their line, to signal a change in topic.
Other than the dropdown type selector, the Visual editor in Wordpress works basically like Microsoft Word. You can bold things, make things italic, make lists, etc. Play with all of the tools to get familiar with them.
If you make a mistake or formatting goes wrong, you can always clear it and start over by highlighting the problem area and clicking the “remove formatting” tool, which looks like an eraser. This won’t delete your text, it will just remove all of the styles applied to it so you can start formatting it fresh.

Adding Links ("Hyperlinks")
One of the most common things people do on websites is create links to other websites, articles, pages, etc. Adding a link in Wordpress is easy:
- Highlight the text that you want to make into a link.
- Click on the "Insert/Edit Link" icon in the content toolbar above the main content window. It looks like a chain (unbroken).
- In the box that pops up, you can either paste the URL of a site/page you want to link to (like: http://keokee.com/blog), or link to one of the pages on your Wordpress website by selecting "Or link to Existing Content" and selecting one of your own pages or posts.
- Once you've pasted or selected what you want to link to, click "Add Link."
- That's it!
Saving Your Changes
Once you’ve made some changes to the text, added headings, put in some links, etc. you’ll want to save your changes. To do this click on the blue “Update” button on the right side of the editing screen.

Adding New Pages or Posts
Now that we know how to modify existing pages or posts, adding new ones is incredibly easy.
To add a new Page or Post, go to “Pages > Add New” or “Posts > Add New” on the main Wordpress menu.
It will take you to a new (blank) Page or Post. Enter the title and start adding your content!
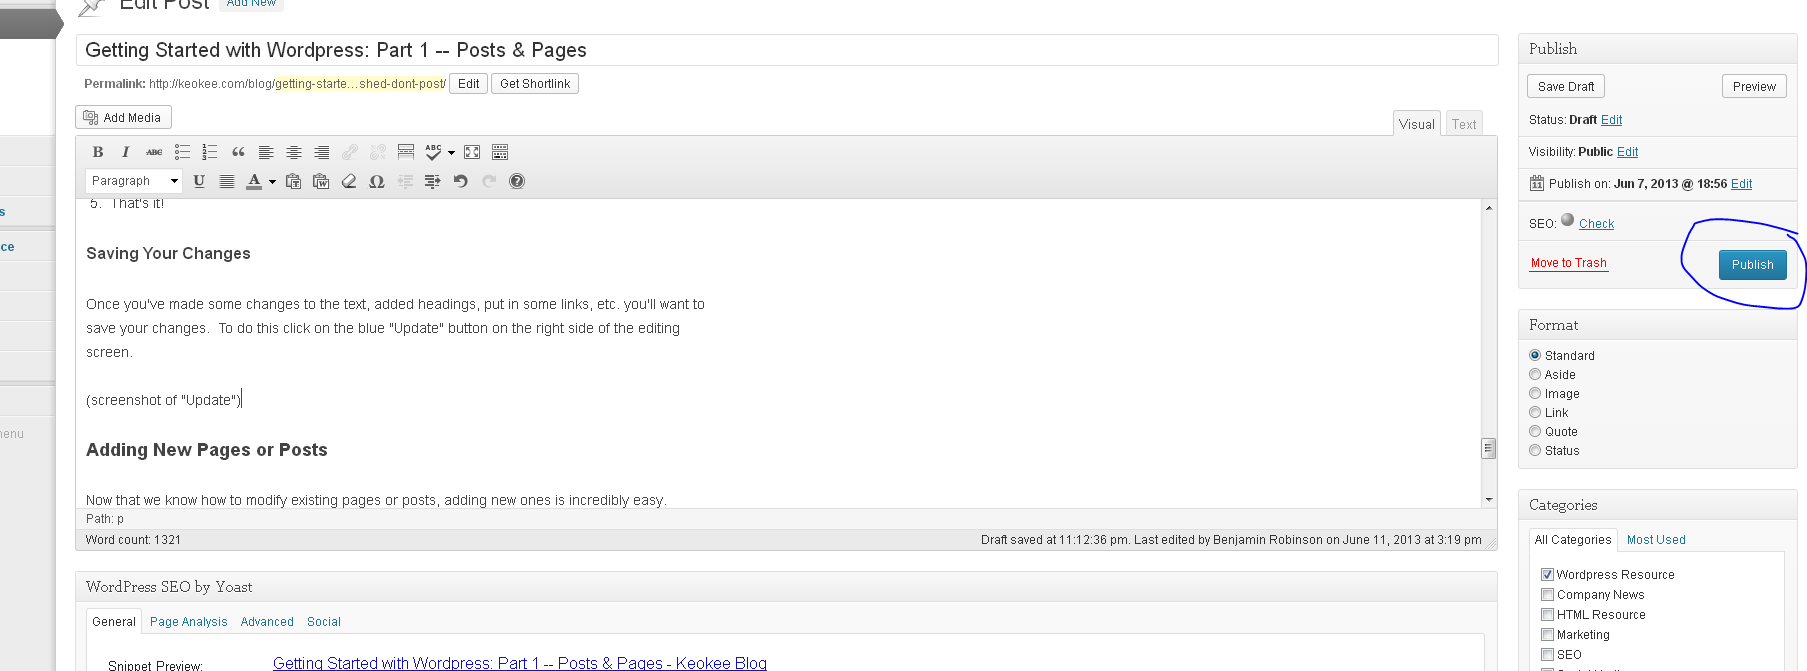
When you’re finished Editing your new page or post, you can either save it as a draft (if you expect to change it some more later before making it live to the public.)
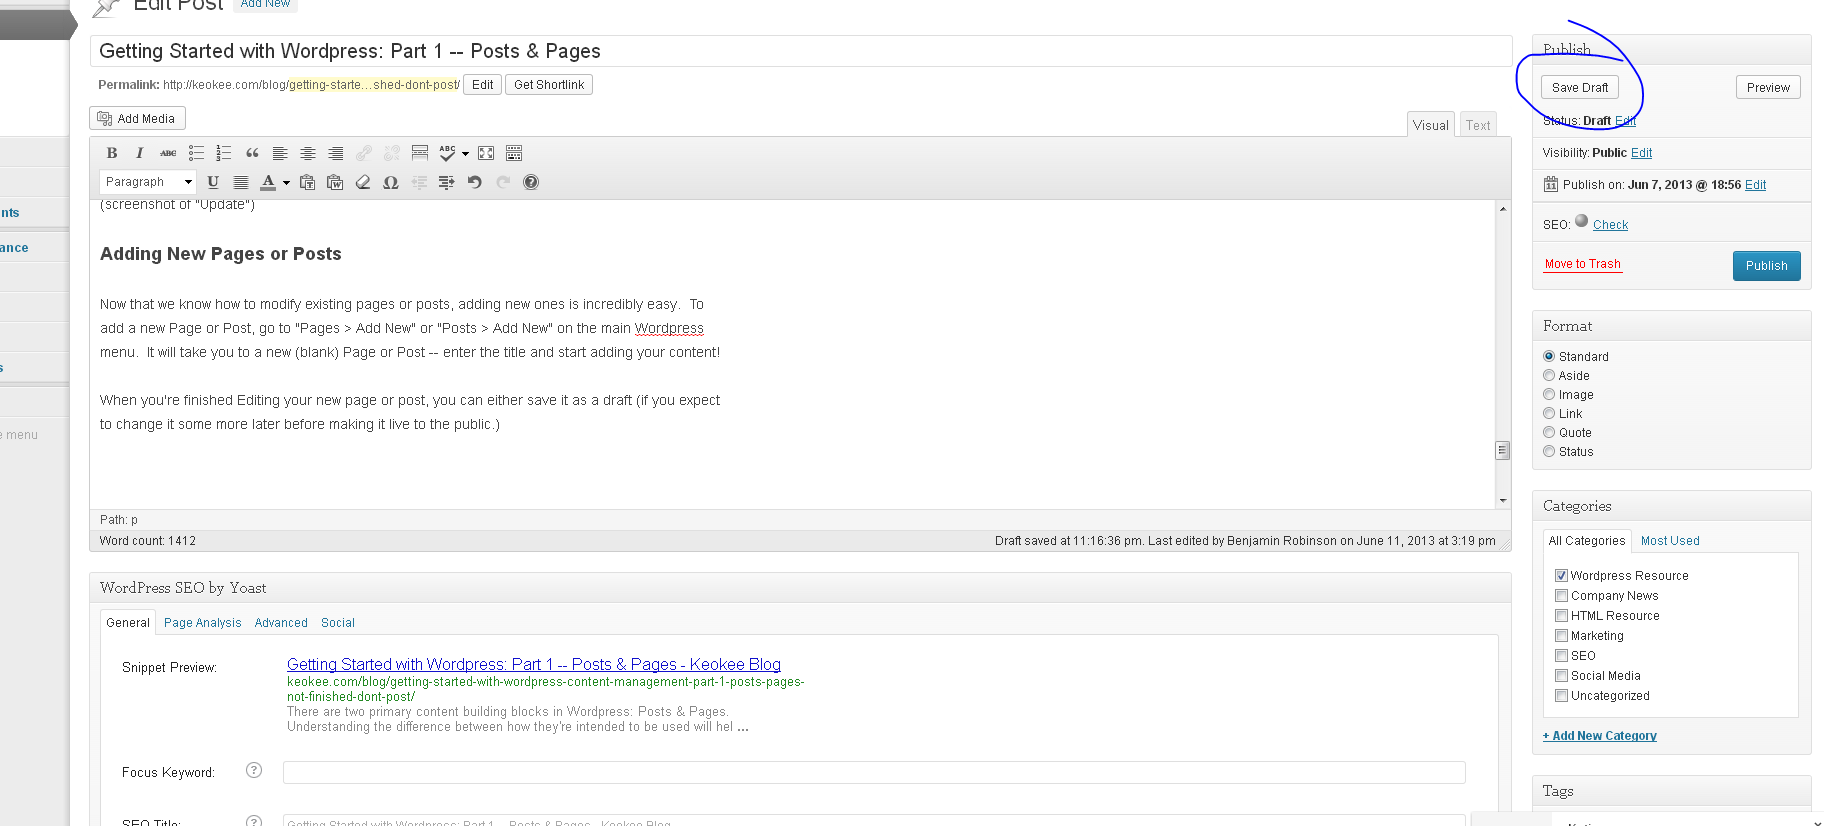
Or click the blue button, which in the case of a new item says "Publish" instead.
Wrapping Up
In this post, we’ve covered editing the text on existing pages/posts and adding new pages/posts. To review quickly (in list form):
To edit existing Page or Post content
- Once logged in, on the left side of the Wordpress screen, go to “Pages > All Pages.”
- On the page list, click the name of the page you want to edit, or click the link that appears below the name that says “Edit.” It will take you to the editing screen for that page.
- On the page editing screen, the main contents of the page are in the large text box with tools above it. You can switch between HTML and Visual views by clicking the tabs in the upper right corner of the text box.
- Once you've finished editing, save your changes by clicking the "Update" button on the right side of the screen.
To add a new Page or Post
- Click on "Pages > Add New" or "Posts > Add New" on the main menu on the left.
- Enter your content.
- Save as a draft or Publish your new page with the blue button on the right.
Next Time...
With some practice and play, you should be able to easily edit text content – in the next post, I’ll cover how to insert pictures, galleries and videos into your pages or posts.