In our first two “Getting Started with Wordpress” tutorials, we covered logging into WordPress, and working with text content in your posts and pages. In this third installment we’ll tell how to add pictures, galleries and videos.
Adding pictures and video is still very easy to do in WordPress, but there are a few tricky things you’ll need to be aware of.
Adding Photos: Being aware of “Float”
In WordPress, there are three primary ways an image can be placed into the content of a post or page:
- centered
- to the left of the text
- to the right of the text
Center alignment the simplest of the three to deal with: the picture clears the text on both sides of it, and centers itself in the middle of the content column. It is clear to see where the photo is and what comes before and after it.
Left and Right aligned images are trickier. Left and right aligned images “float” next to the text placed after them. That means whether you want to place an image to the left or right of some text, you need to insert the image before the text. You do this in the Edit Post or Edit Page window by simply placing your cursor right before the text, then clicking the “Add Media” button to add or find your picture (more on that below). Here’s what the Left or Right alignment will look like:
For example, the picture of the drink is floating to the left of this text…
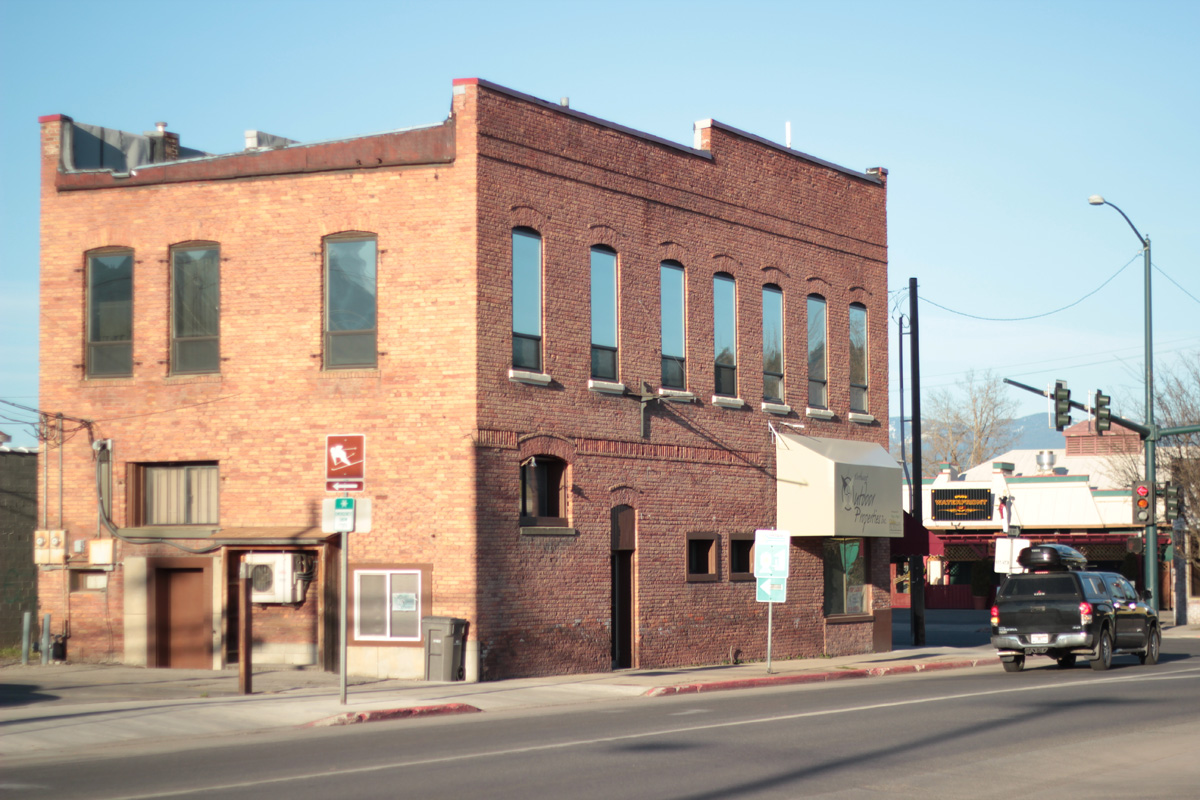
While the picture of the building is floating to the right of this text. Both images are actually placed before the text they float next to.
Unlike in Microsoft Word or other word processing (or design) software, positioning images more exactly is not simple to achieve on the web, whether you are using WordPress or not. Specific positioning is possible, of course, but it certainly requires knowledge of HTML and CSS to do correctly, so it is beyond the scope of this tutorial.
Anyway, these three positioning options are usually enough.
The size of the image makes a difference!
Your content column has a certain width. Images that are very large may fill the whole column and not appear to float, even if they are set to float right or left. Users wanting to see a larger version might click on the image to see the full size version in a Lightbox (see aside).
WordPress automatically makes additional image sizes for you when you upload a photo from your computer. The image sizes that are available by default are:
- Full (the original that you uploaded)
- Large (typically 1024px wide)
- Medium (300px wide)
- Thumbnail (150px by 150px square)
All of these reflect the original dimensions except “Thumbnail.” Thumbnails are small, perfectly square versions of your image as would be used for a small preview.
It’s important to select an appropriate size to allow space for text to flow around a floating image. Usually, the “medium” size option for an image works well for floating images.
Actually Adding the Photos
To add photos to a post or page:
- Open the post or page for editing in WordPress.
- At the top left corner of the page, click "Add Media."
- The media window will pop up. It looks like this:
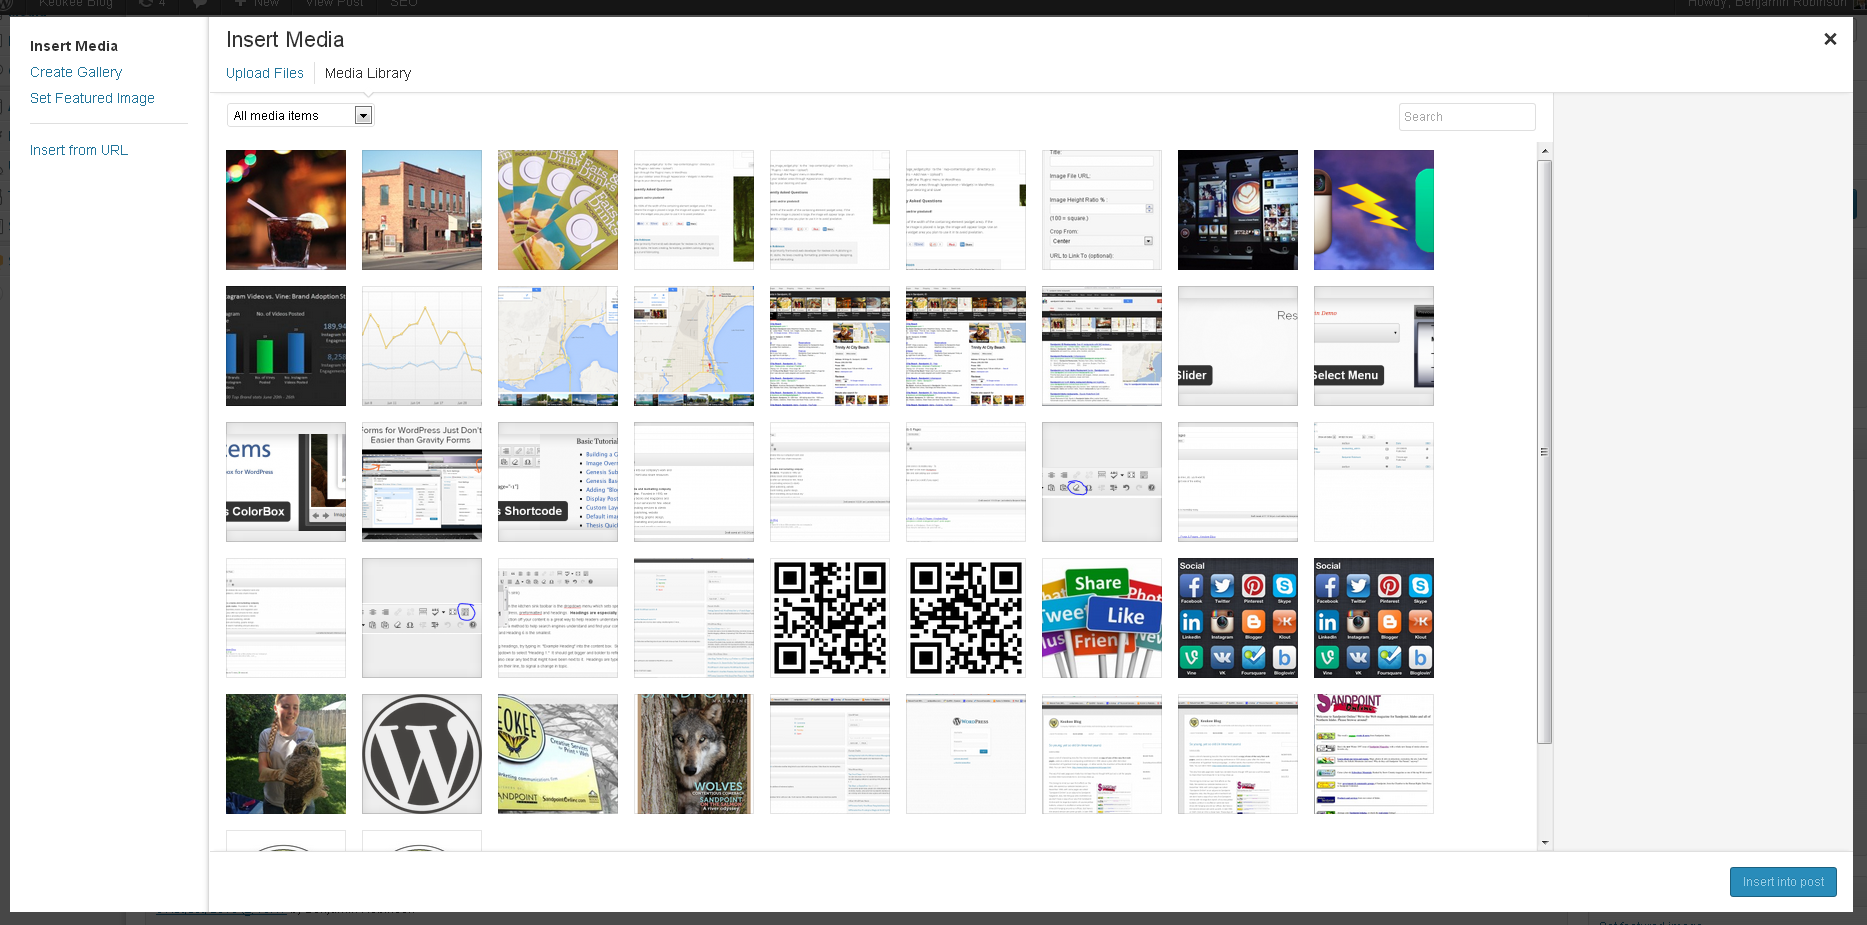
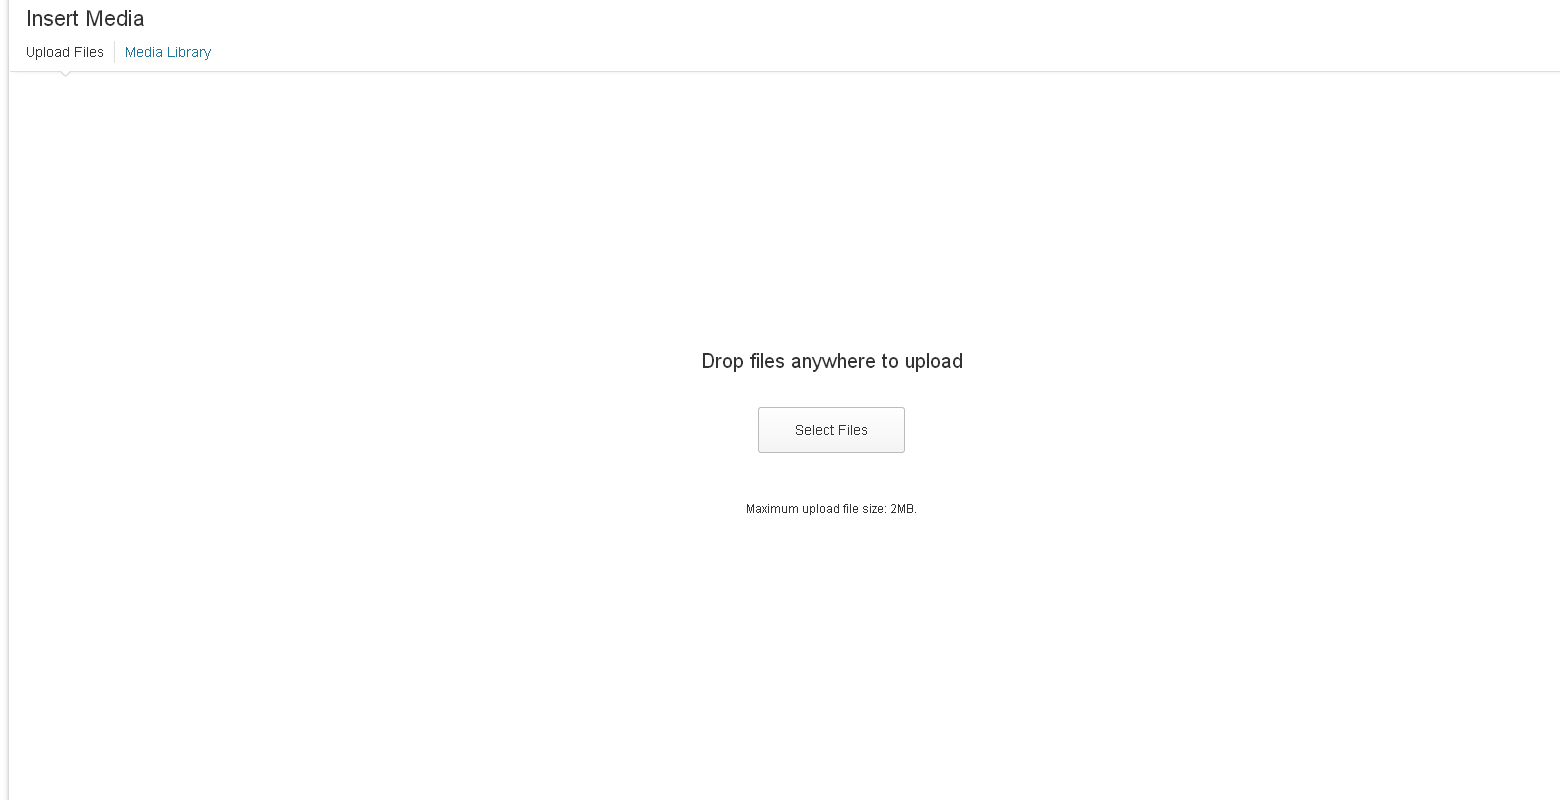
- If you've already uploaded the image you need, you'll see it in the Media Library there. If you need to upload an image from your computer, click the "Upload Files" tab at the top left. You can drag an image onto the blank upload space, or click the "Select Files" button to browse for a file on your computer:
- Once you've uploaded your image or found it in the media library, select it. Then set the insertion options on the right side of the screen -- this is where you'll set the alignment:
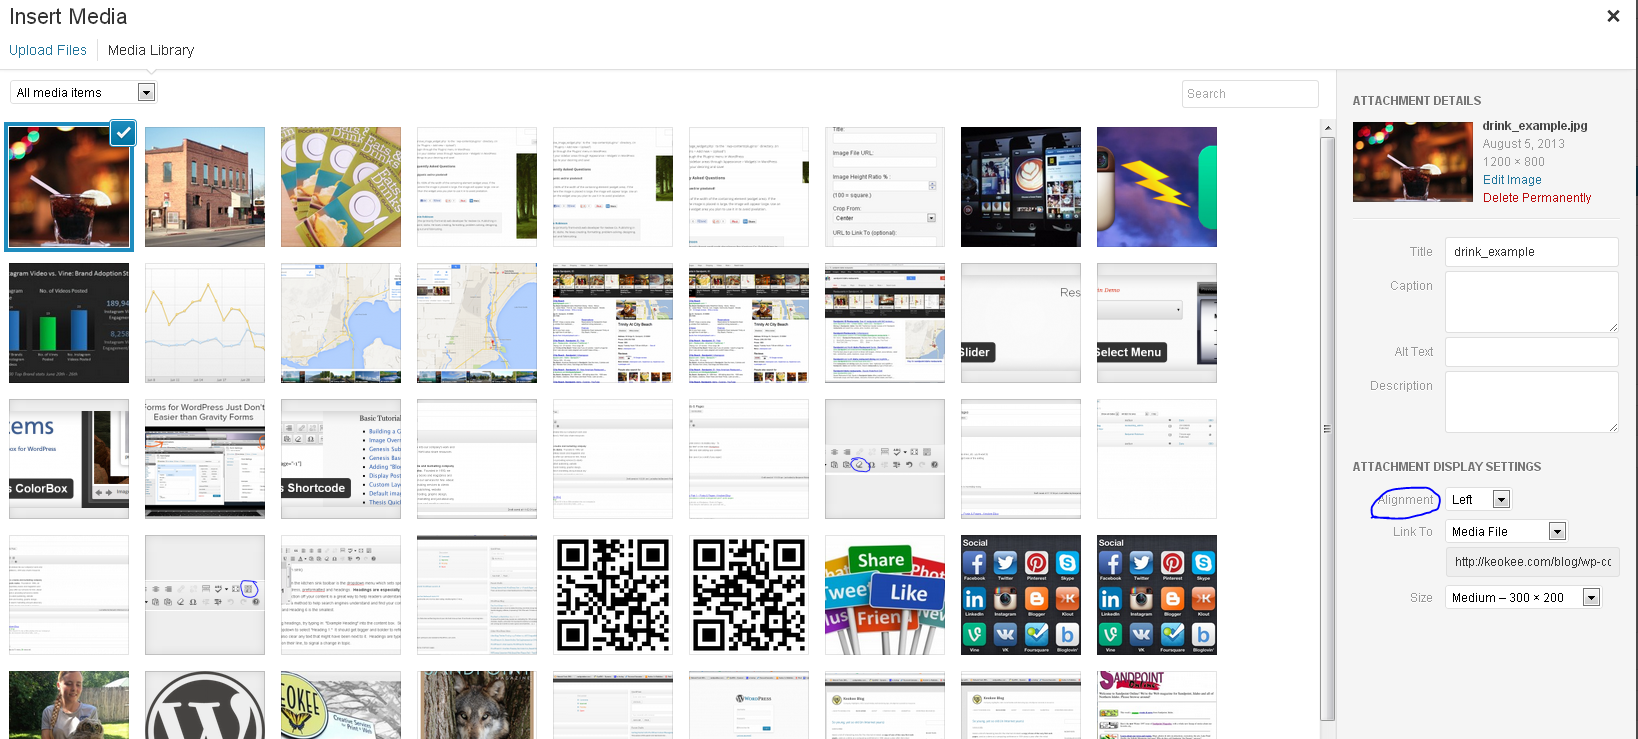
- You'll also set the size here -- for floating images, "Medium" is a good choice.
- And there are other options to be set:
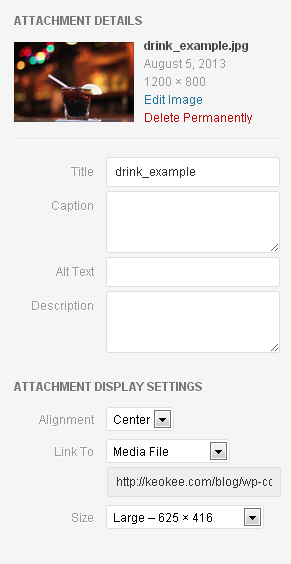
- Title: the title of the image that will appear when a user holds their mouse over the image. ("Tooltip")
- Caption: An optional caption that appears under the image.
- Alt Text: text that would show if the image failed to load -- also read by search engines!
- Description: Not really necessary. A description for yourself, to help you organize photos in WordPress.
- Link to: the location where the media file links when clicked. "Media File" is usually the best option, because people clicking on an image usually expect to see the full size version. You might also consider "none" if you don't want the picture to be made into a link.
- Once you've set all of the options the way you want them, click the blue "Insert into Post" button.
That’s it! You’ve added an image. You should see it show up in your content box.
Adding Galleries
Often, you don’t want to add just a single image, but rather you want to add a large gallery of images that users can click on to see bigger versions.
WordPress lets you easily insert picture galleries through the same “Add Media” button as photos.
To add a gallery:
- In WordPress, Open the post/page you want to add the gallery(ies) to.
- Click the "Add Media" button at the top left of the content box.
- At the top right of the Media popup, select "Create Gallery" instead of "Insert Media":
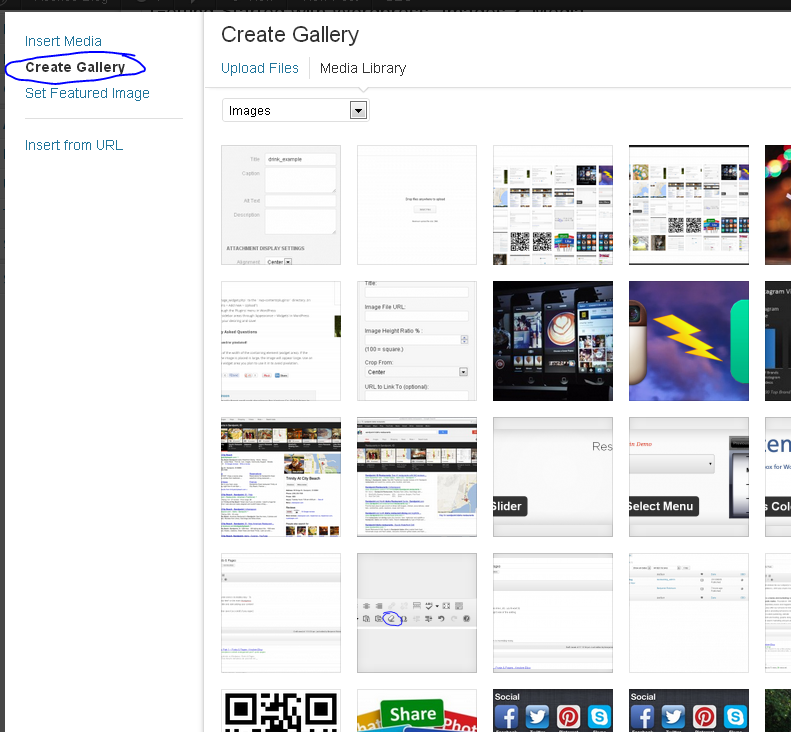
- Select the image from your media library you'd like to add to the gallery, or select "Upload Files" to add pictures from your computer.
- When you've selected all of the photos you want, click the blue "Create a new Gallery" button in the bottom right corner:
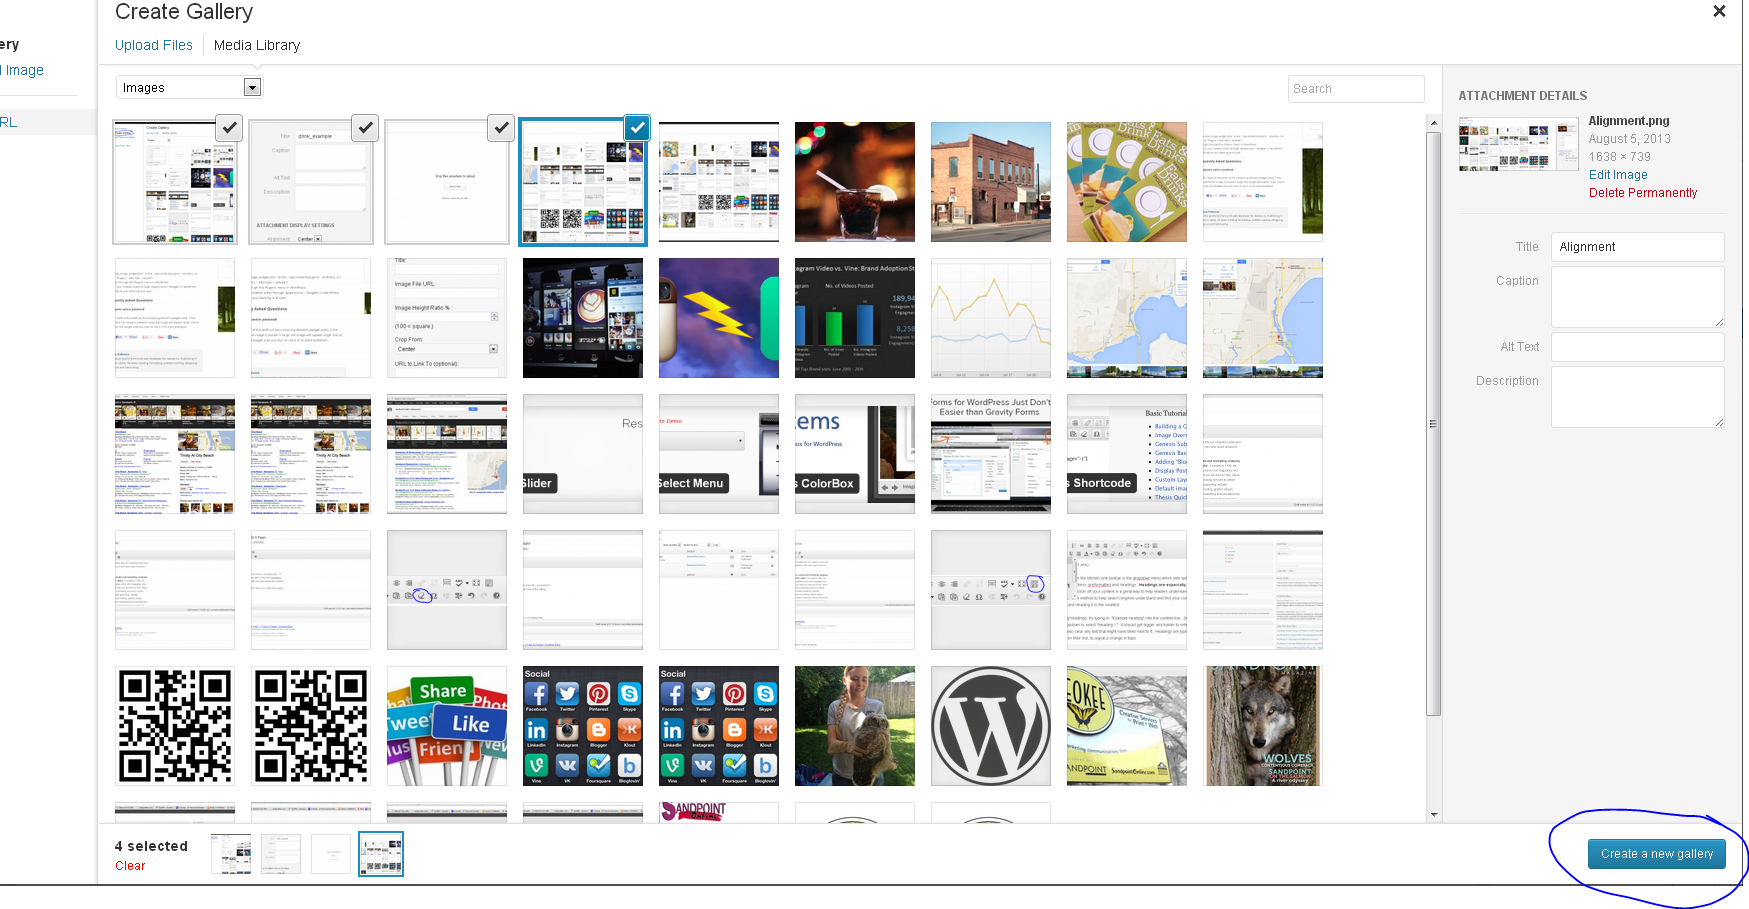
- You'll be taken to the gallery screen, where you see all of the images that you chose, and you have the option to add captions and change settings for them:
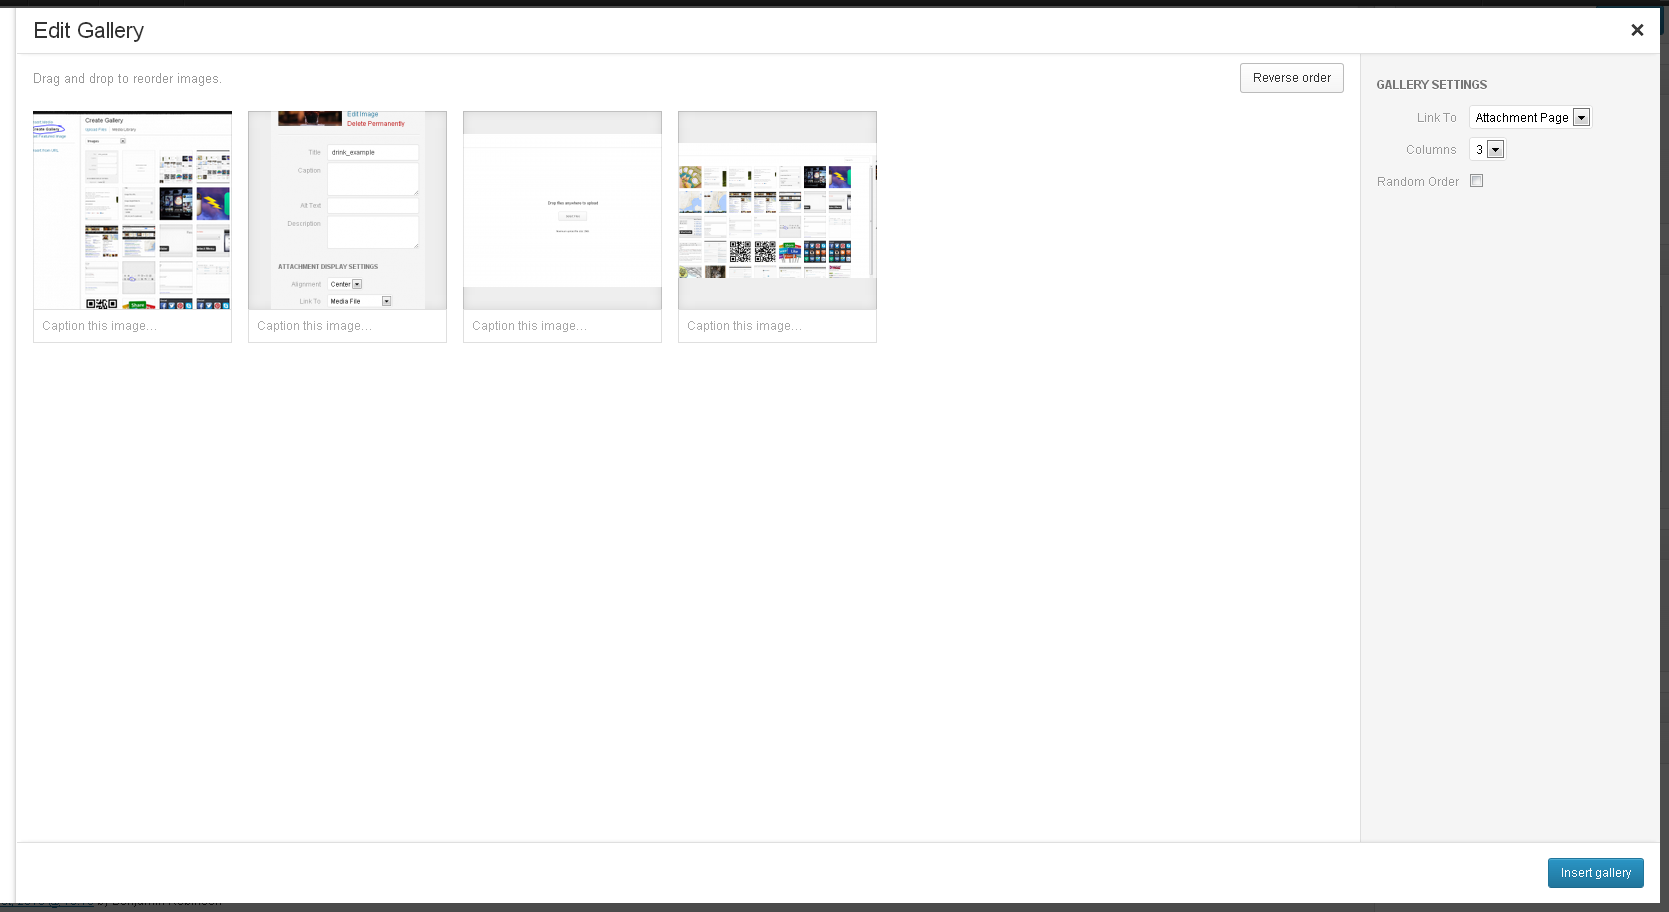 The settings this time are:
- Link to: Same as above, this setting dictates where the gallery images should link to when clicked. "Media File" is usually what you want. This means users are shown the full size version of the image, or the image pops up in a Lightbox. "Attachment Page" takes the user to a blank template page showing the picture and its title, which is not usually what people expect.
- Columns: The number of columns that you want your gallery to have. Keep in mind that you don't want to have so many columns that the images don't fit horizontally in the area you're putting them.
- Random Order: shuffles the pictures randomly each time the gallery is displayed. This is useful if you don't want to give certain images preference by displaying them in the same place every time.
- Once you're satisfied with the settings, click the blue "Insert Gallery" button.
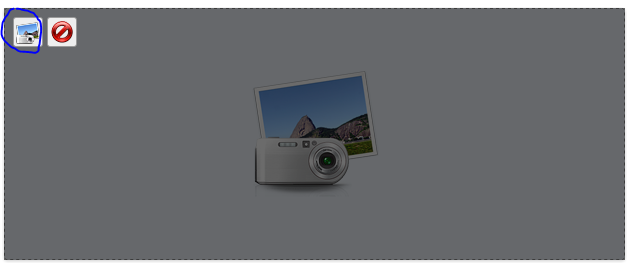
Congratulations, you should see a box added for the gallery. You can click on the picture icon that appears in the upper left corner when you select the gallery block to edit it:
Preview or publish your post/page to see it.
Adding a Video from YouTube
The easiest way to add a video to your content is to embed it from YouTube. Once a video is on YouTube (even if it’s not yours) you can embed it in your website. YouTube videos are embedded through what’s called an “iframe.” An iframe is essentially a window on a page through which you can see another website.
Here are the steps to follow to embed a video:
- Find the video you want to embed on YouTube.
- Once you've opened the video, click the "Share" button below the video.
- Instead of "Share this video" select the "Embed" tab.
- Select the size of your embedded video.
- Copy the embed code (HTML) from YouTube.
- Go to your WordPress post/page in the editor. Find the location where you'd like to place the video. Switch to the "text" (HTML) tab at the top right of the content box.
- Paste the video in the text tab of the window, the pasted text should look something like: <iframe...></iframe>
- Save your draft or update your published post. Click on "Preview" or "View post" to see your embedded video.
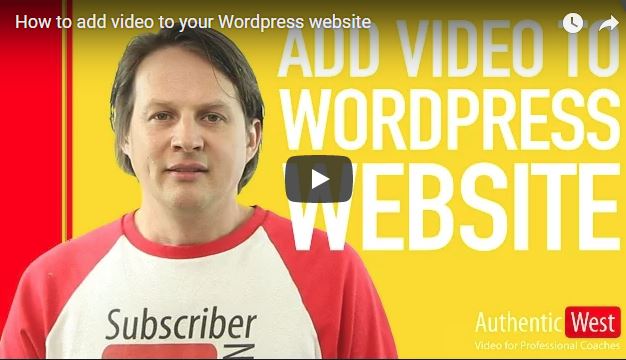
YouTube makes it easy to embed videos by generating iframe code for you to copy and paste. To demonstrate both how to do it, and provide an example of an embedded YouTube video, here’s a video:
Congratulations, you’ve just embedded a video!
Conclusion
In these first three installments of “Getting Started …” we’ve gone through basically everything necessary to understand the Wordpress nomenclature and to work with post/page content in WordPress. The best way to learn is by experimenting yourself with your own web pages. And don’t fear that you might “break” your website: you’d almost have to do that intentionally, because WordPress saves revisions and you can always revert to a previous version if you save something you don’t like.
The next and final section of this introductory WordPress series will be about some other areas beyond the main content that you may need to edit: the Menu and Widgets.
